Flowith AI Video Generator
Create AI videos from text or images with Seedance, Kling, and Veo, or make motion graphics and explainers with the Flowith Code Video agent.
Add reference media, set clip options, and check credits in the workspace.
Two ways to make an AI video
Generate a clip with a model
Turn a text prompt or reference image into a shot. Pick Seedance, Kling, or Veo for cinematic scenes, animated photos, and short clips.
Use the video generatorMake a video with the Code Video agent
Give the agent a brief and optional images. It builds and renders motion graphics, explainers, and product demos, with no code to write yourself.
Open Code VideoVideo models and credits
- Seedance 2.0 and 2.5
- Animate a still or build a scene from multiple references. Use Seedance 2.5 Draft Mode to test a shot at 480p before refining it.
- Kling 4.0
- Create shots from text or images, direct motion with reference video, or edit an existing clip. Choose 720p or 1080p for a 3- to 30-second shot.
- Veo 3.1 Fast
- Turn text or an image into a 4-, 6-, or 8-second clip. Use audio for dialogue or atmosphere, or switch it off for a silent shot.
Clip credits vary by model, duration, resolution, audio, and reference media. Check the estimate in Flowith before you generate. Code Video is billed by usage in its Mini App, not by the clip rates below.
View example credit costs
- Seedance 2.5
- 5 s, 480p, 16:9
- Check in Flowith
- Kling 4.0
- 5 s, 720p, no reference video
- Check in Flowith
- Kling 4.0
- 5 s, 1080p, no reference video
- Check in Flowith
- Veo 3.1 Fast
- 4 s, text to video, audio off
- Check in Flowith
- Veo 3.1 Fast
- 4 s, text to video, audio on
- Check in Flowith
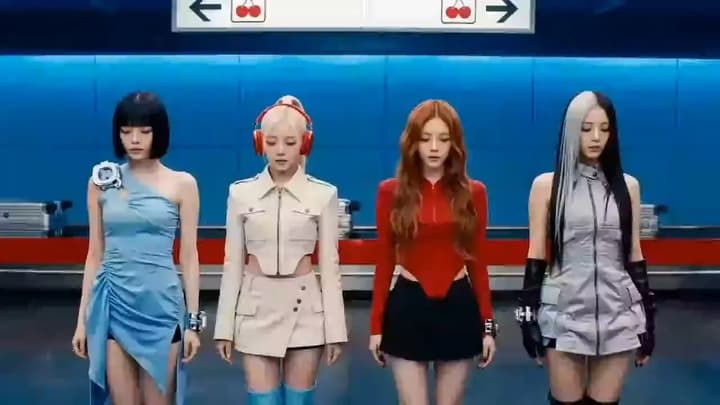
Four-Member K-pop Girl Group MV
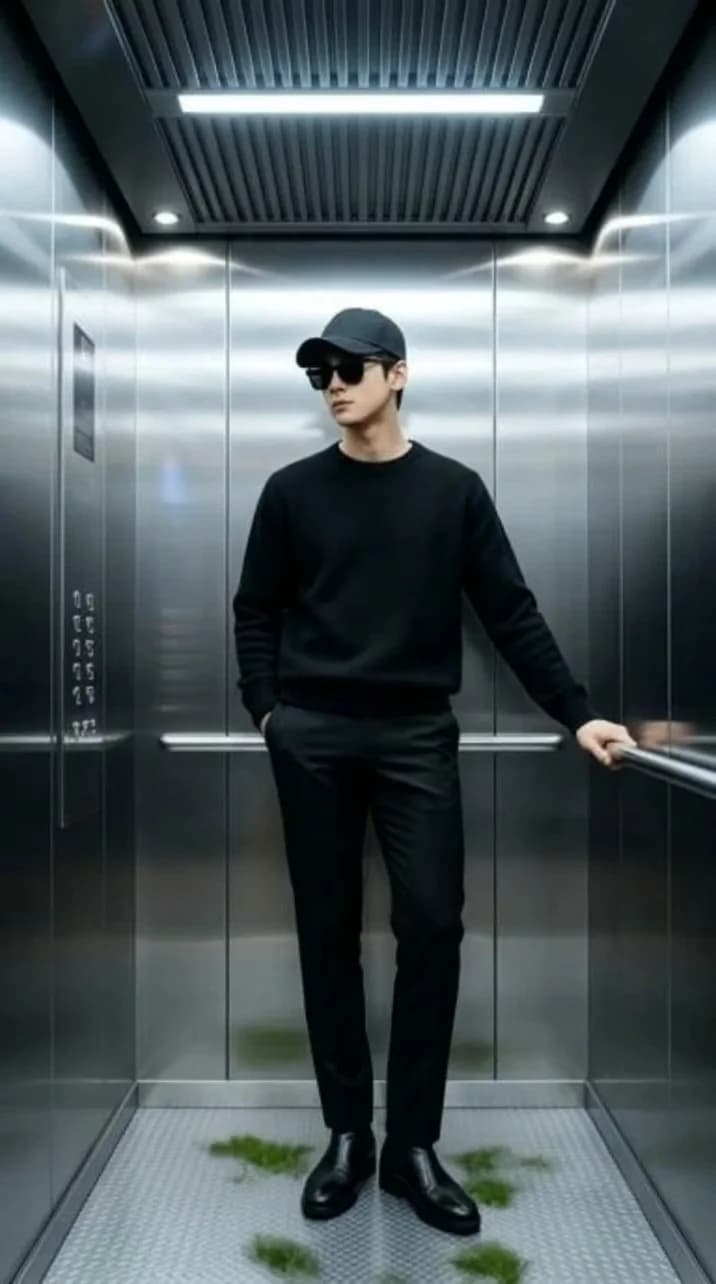
Elevator Fashion Video
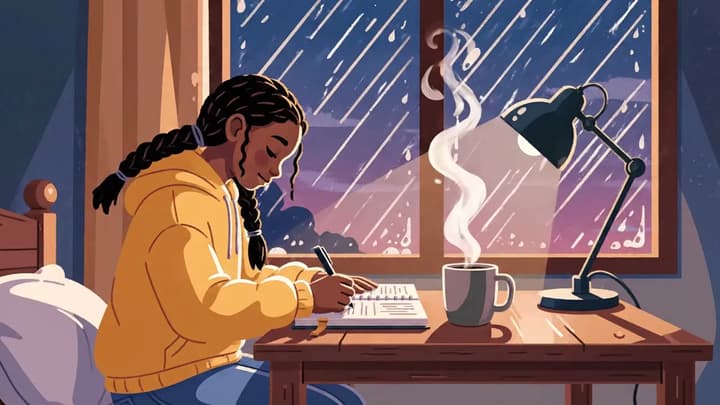
Lo-Fi Study Session
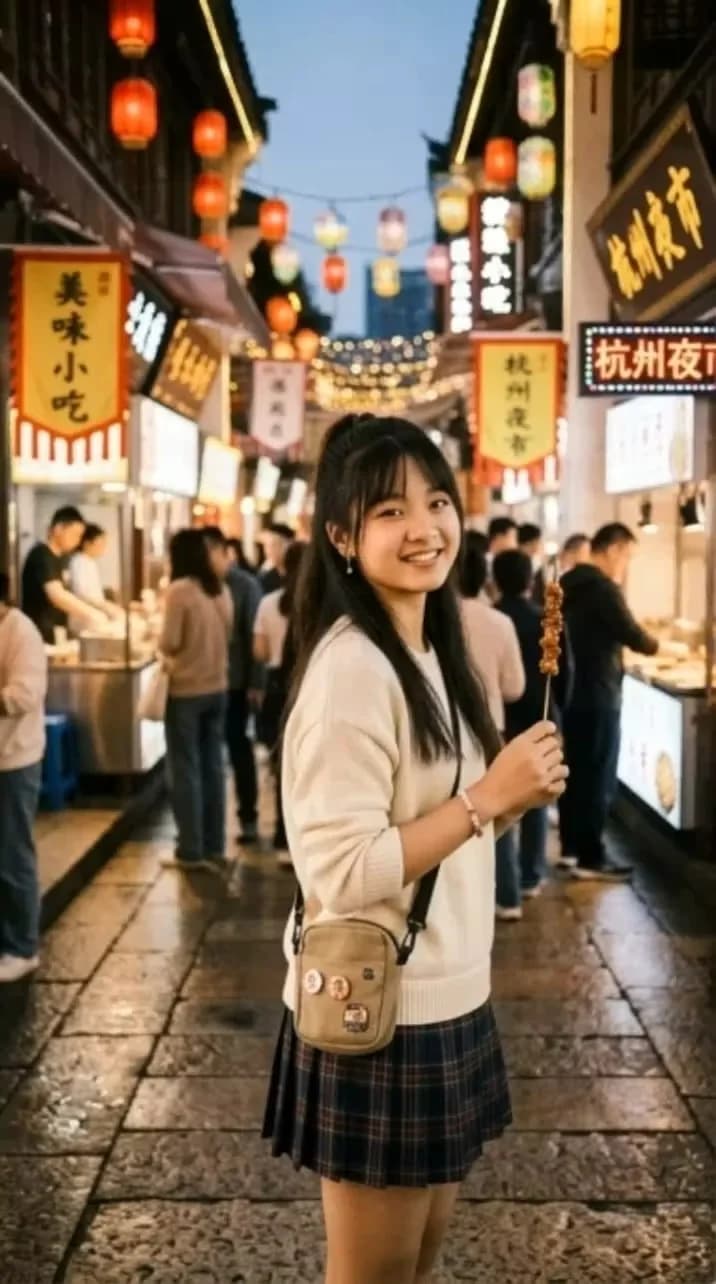
Falling from the sky
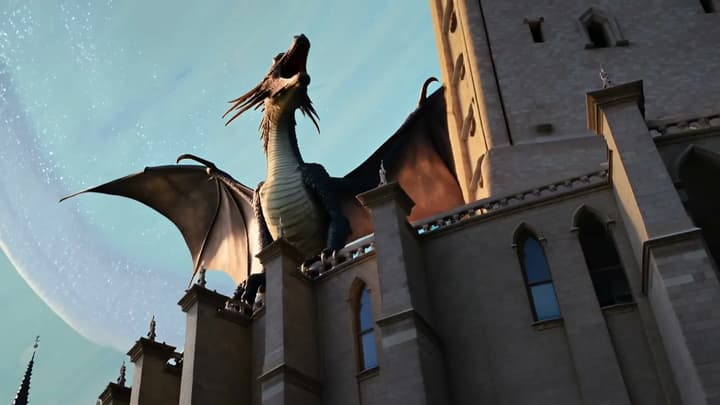
Giant Dragon
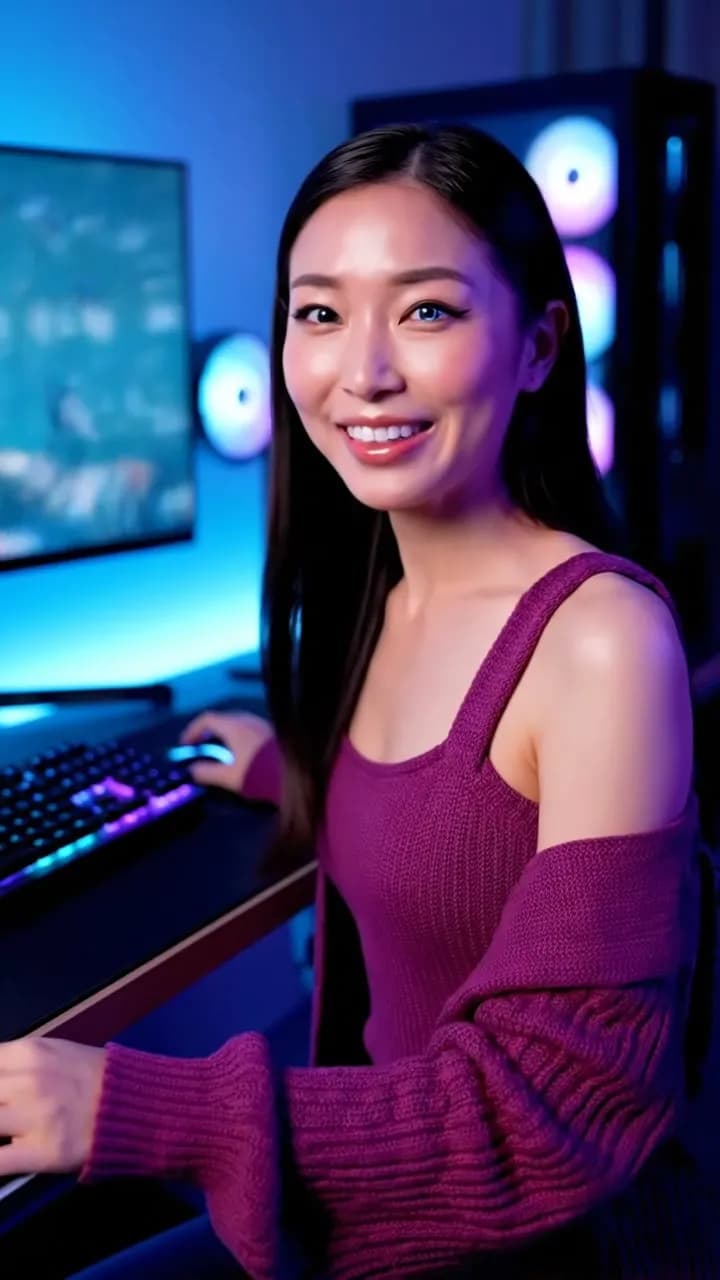
Live-stream
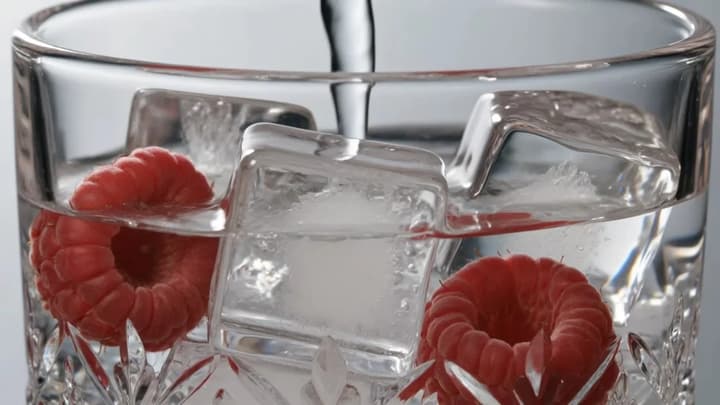
Fizzy Drink ASMR
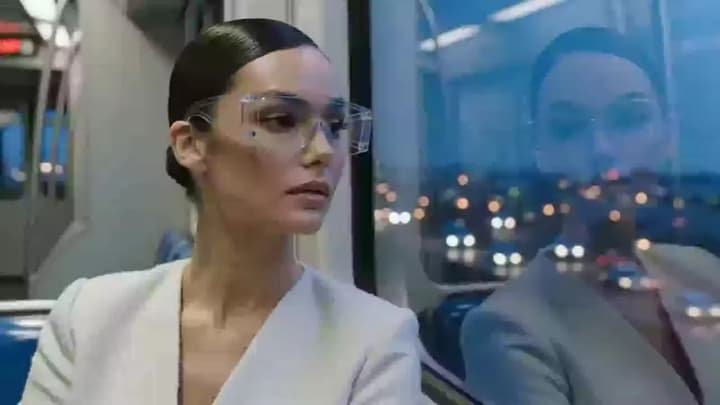
Glass Commute

Across the Universe
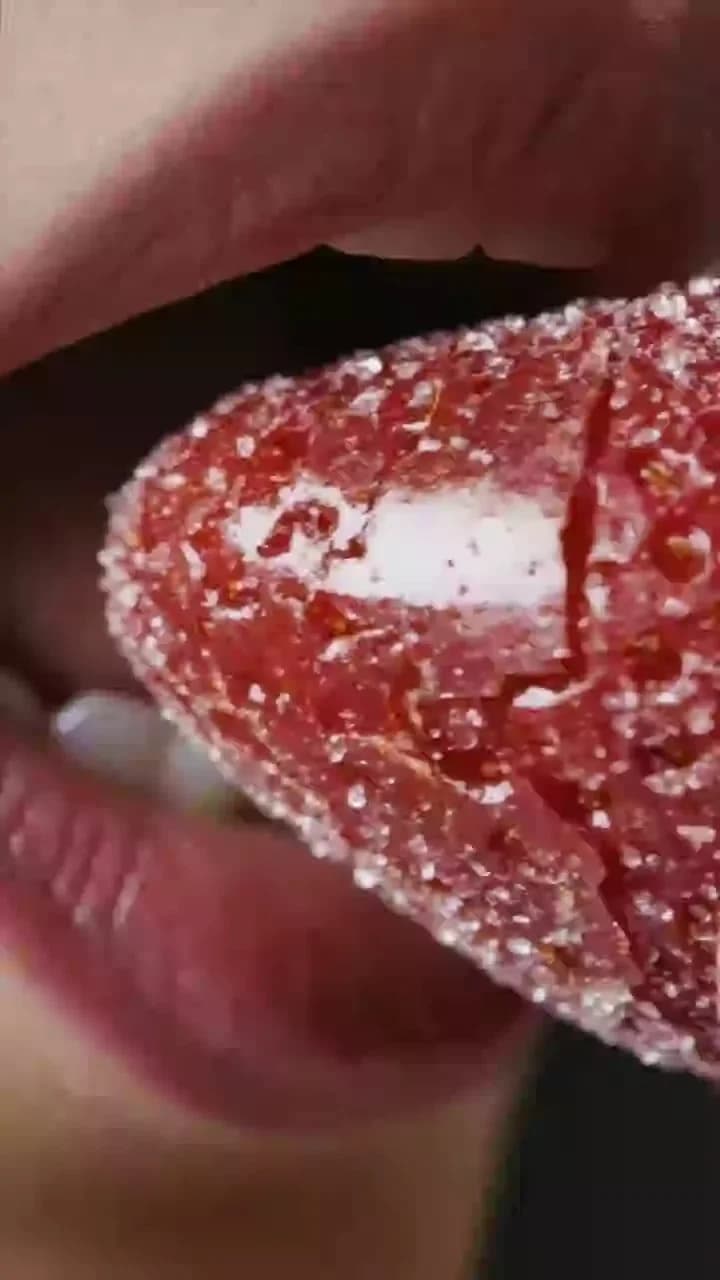
ASMR Eating Mouth
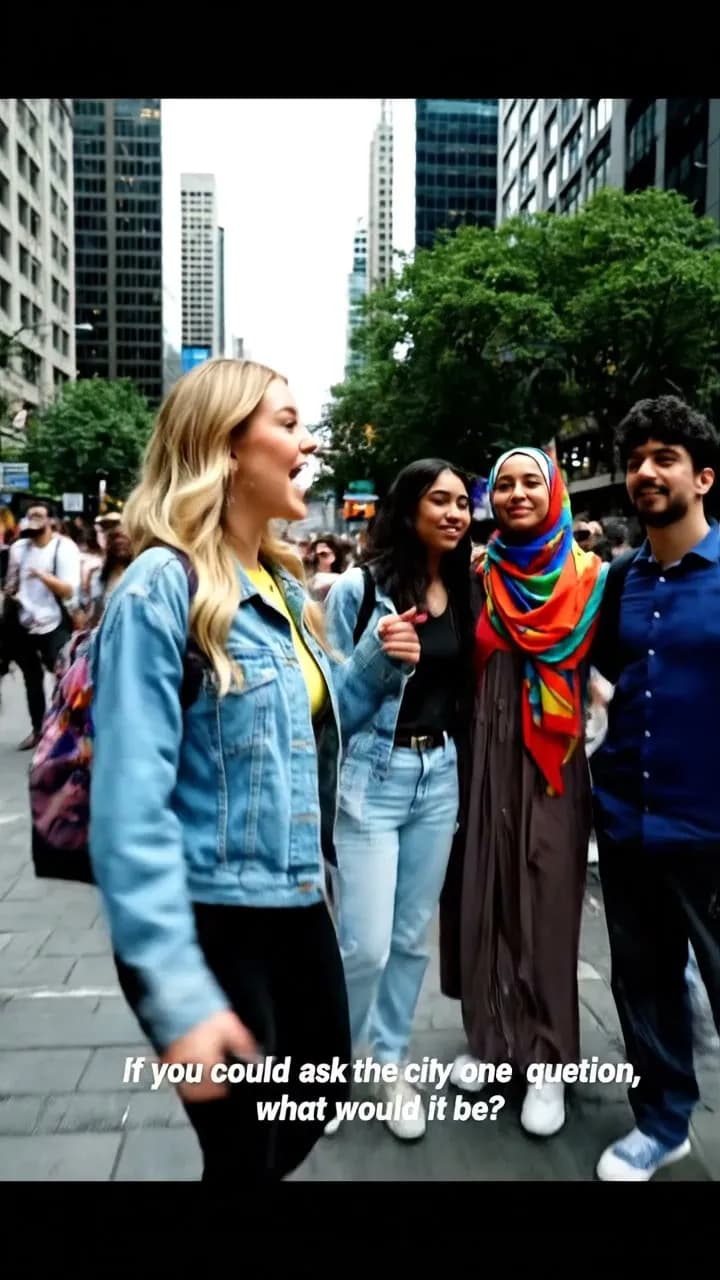
Street Interview
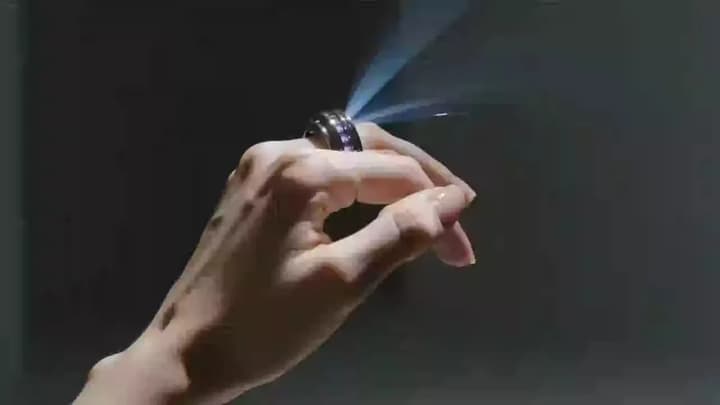
Orbit Ring
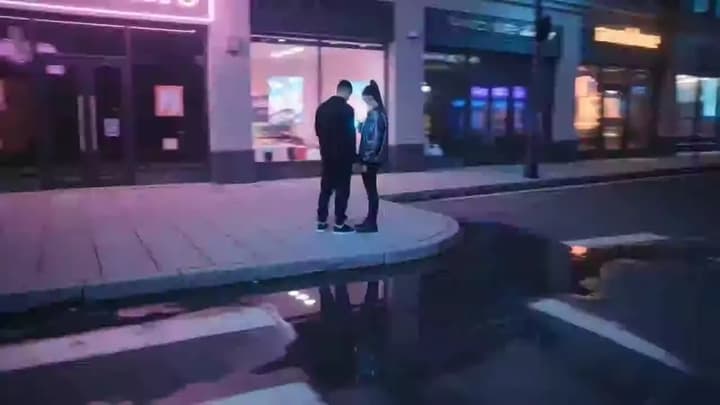
city parallax widening
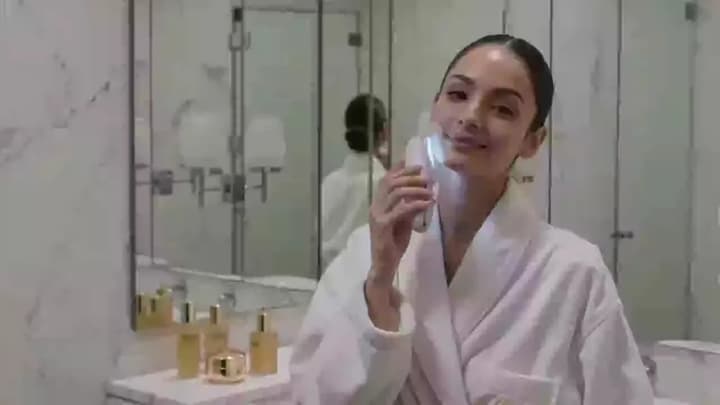
Skinlight Ritual
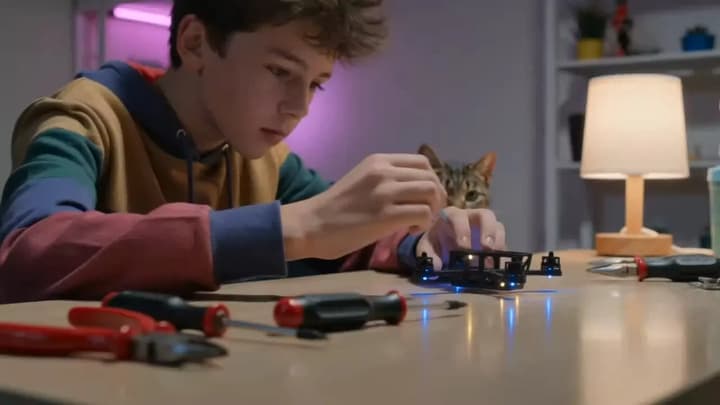
Drone Desk Drift
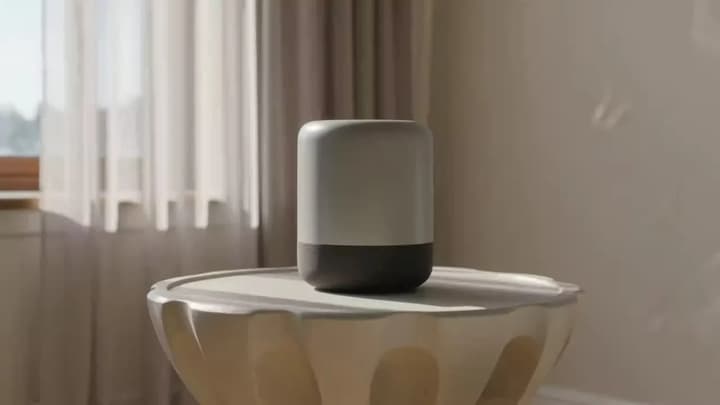
Speaker Orbit
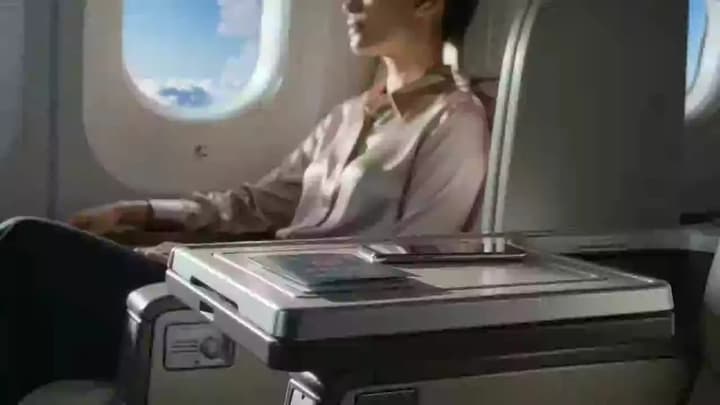
Skyward Translation
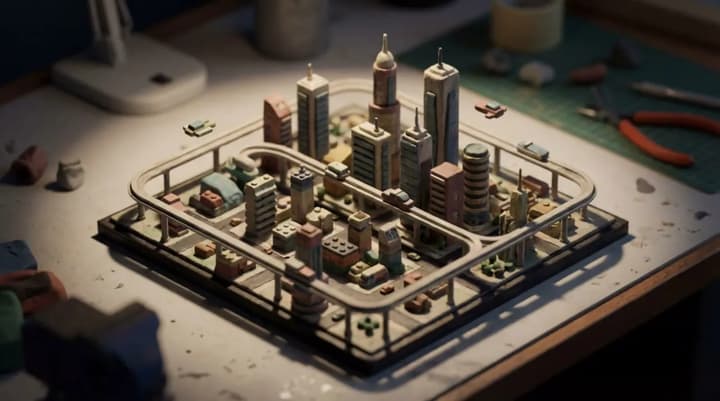
Isometric City
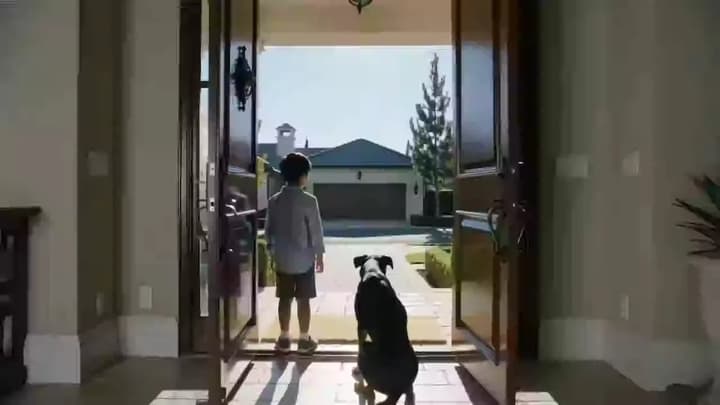
Delivery Threshold
Ad Large Screen Display
Rooftop Holo Call

Cloud Keyboard ASMR
Ski suit transformation
ASMR: Soap Cutting
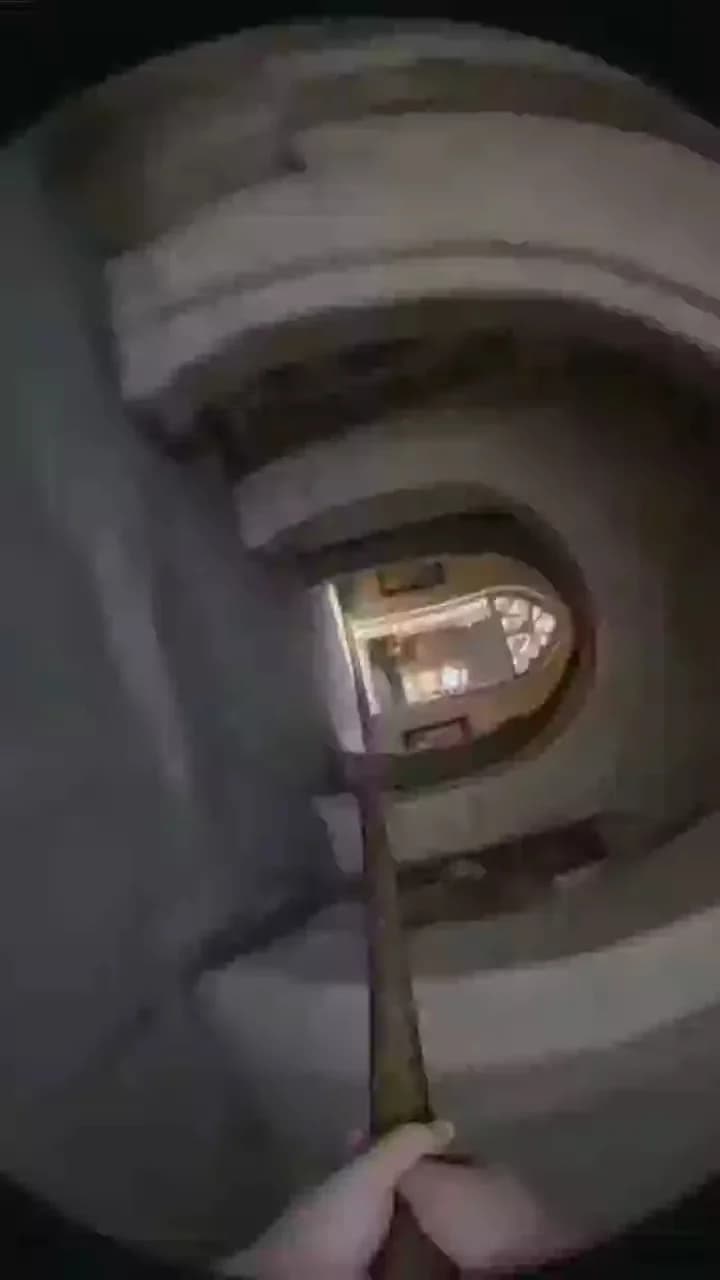
Broomstick Flight
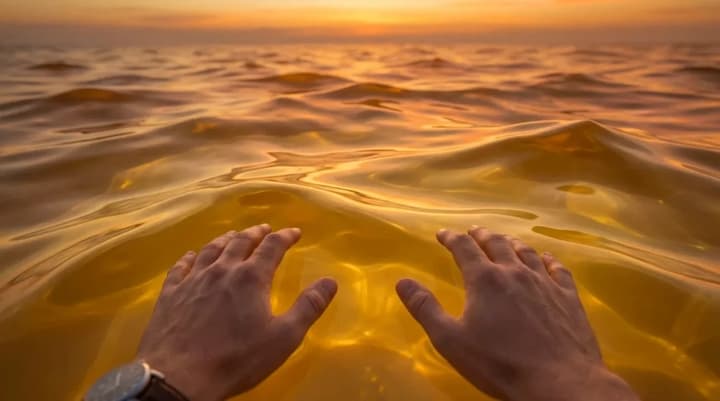
Jelly Ocean ASMR
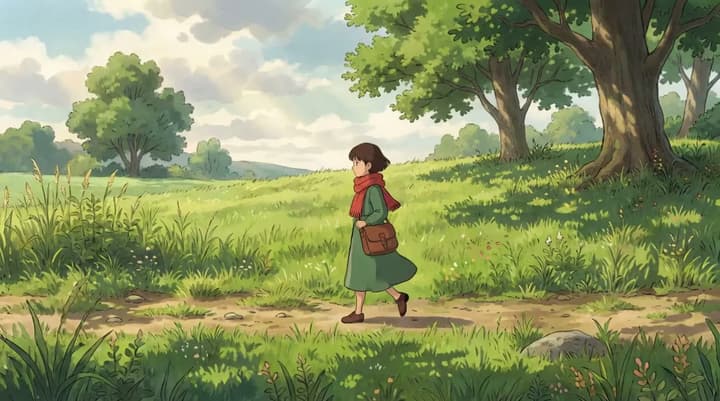
2D Character Walk
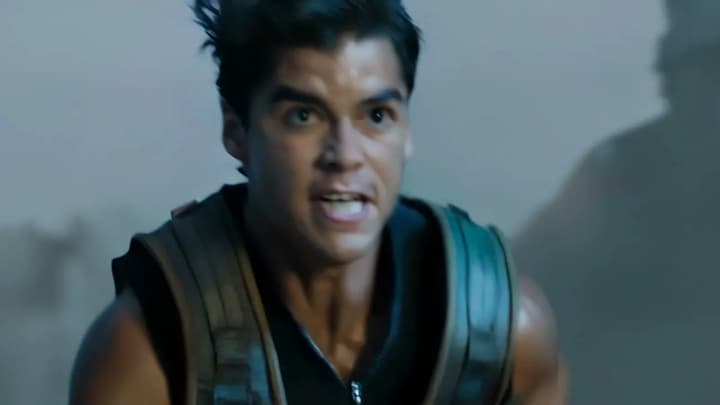
Escape From Another World
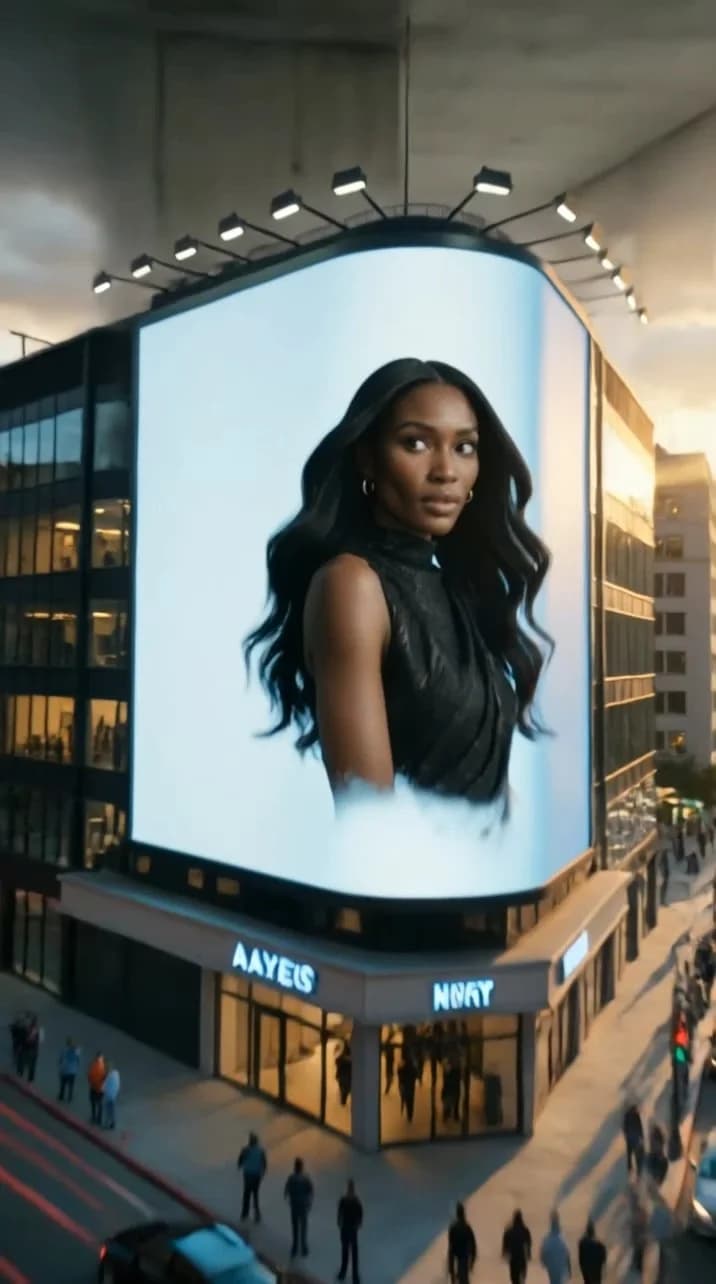
Urban 3D billboard
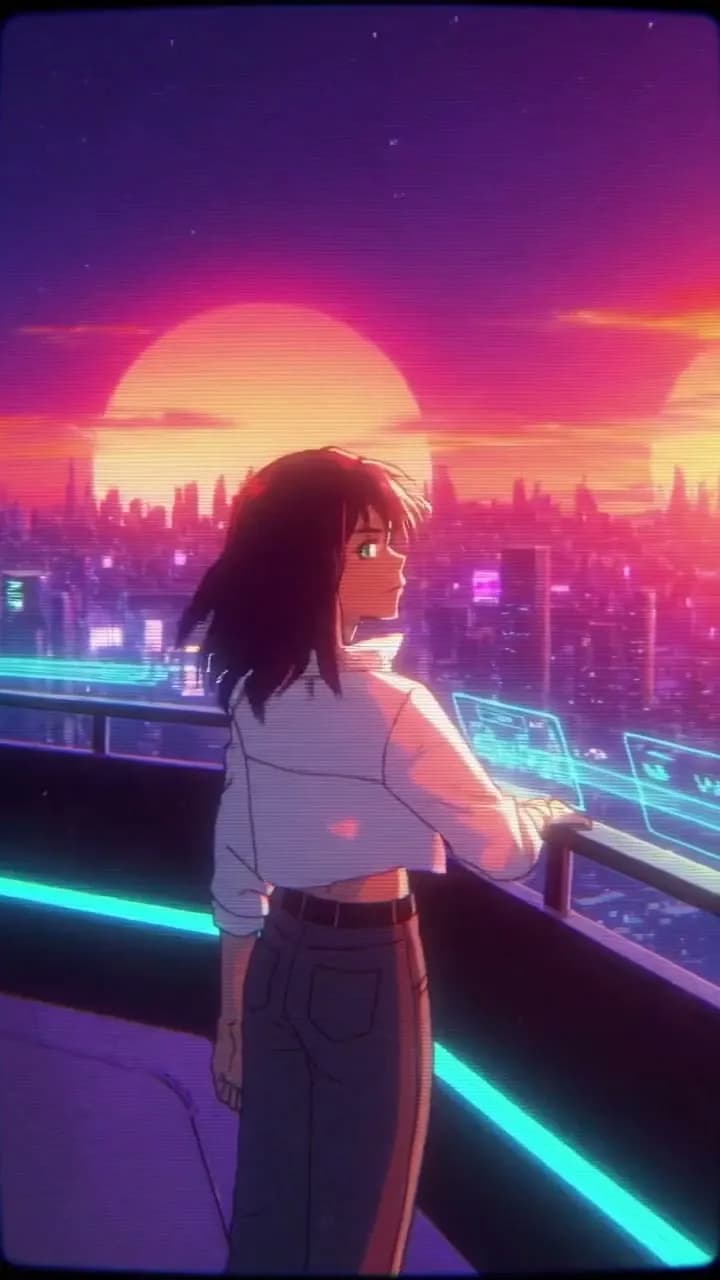
Retro Future
Spinning Pink Gown: Glowing Trails in the Night
City street racing

Explainer Story
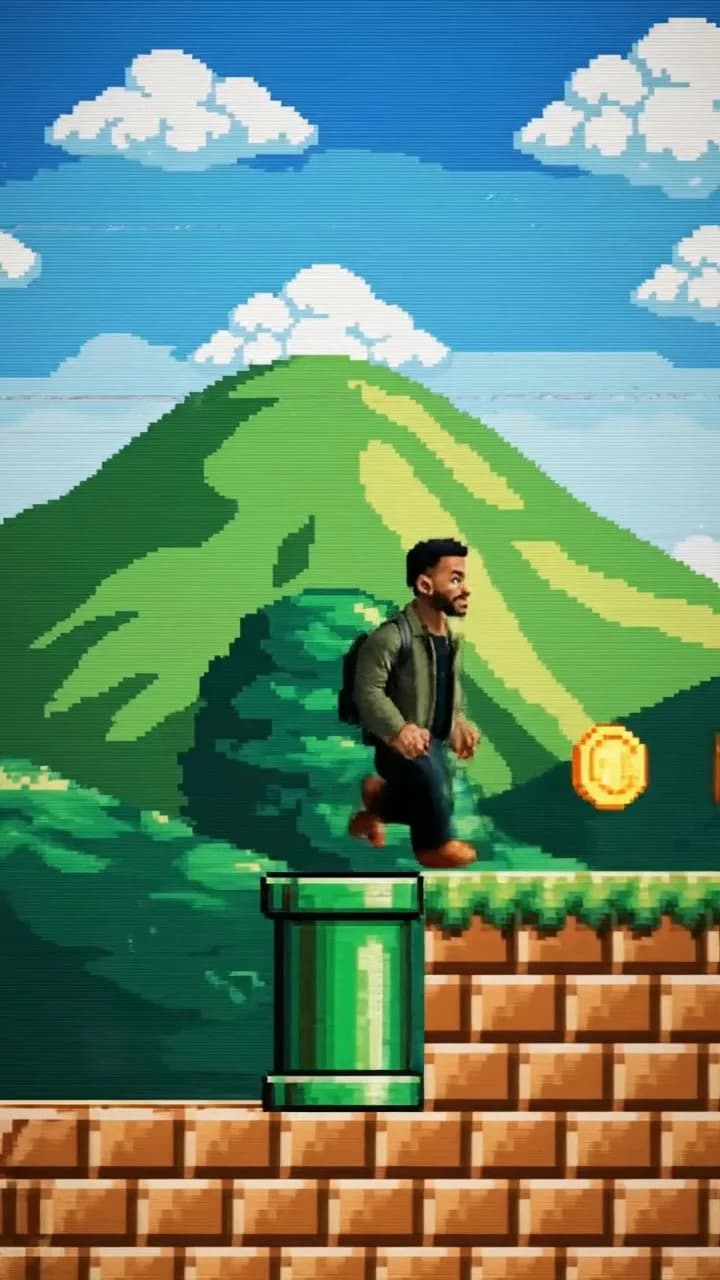
Pixel-art parkour game
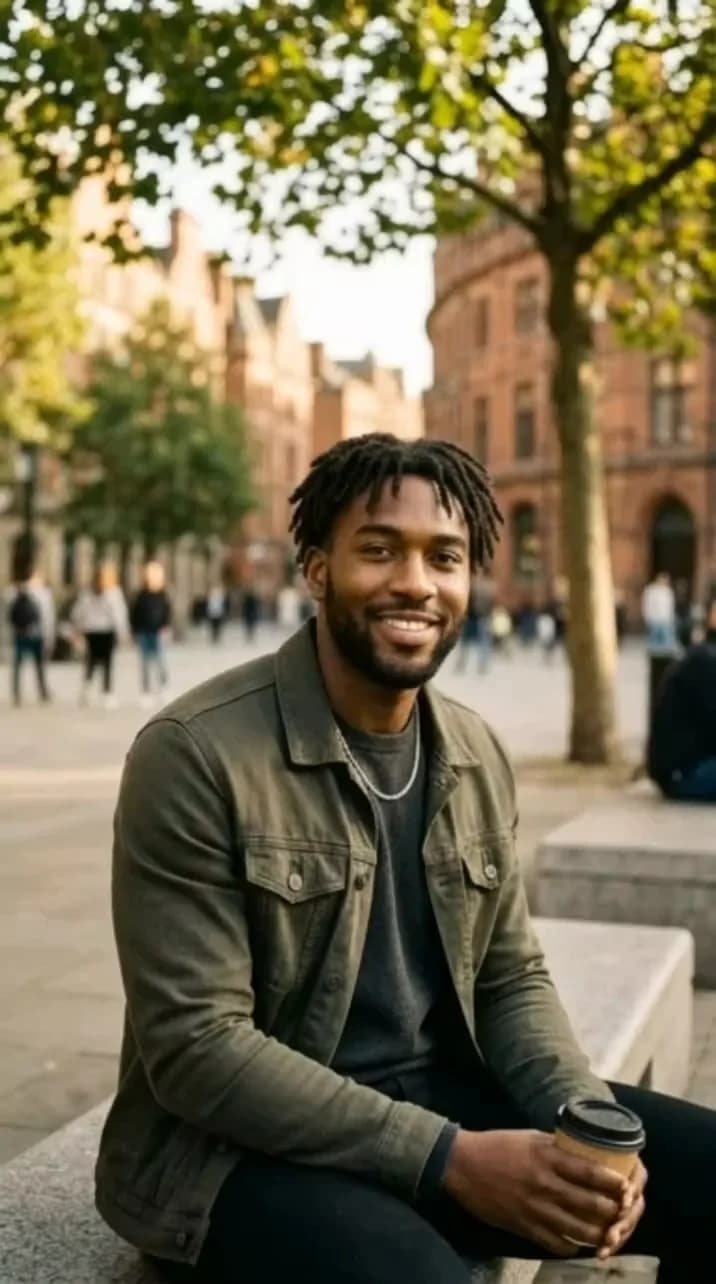
On the subway with Hello Kitty
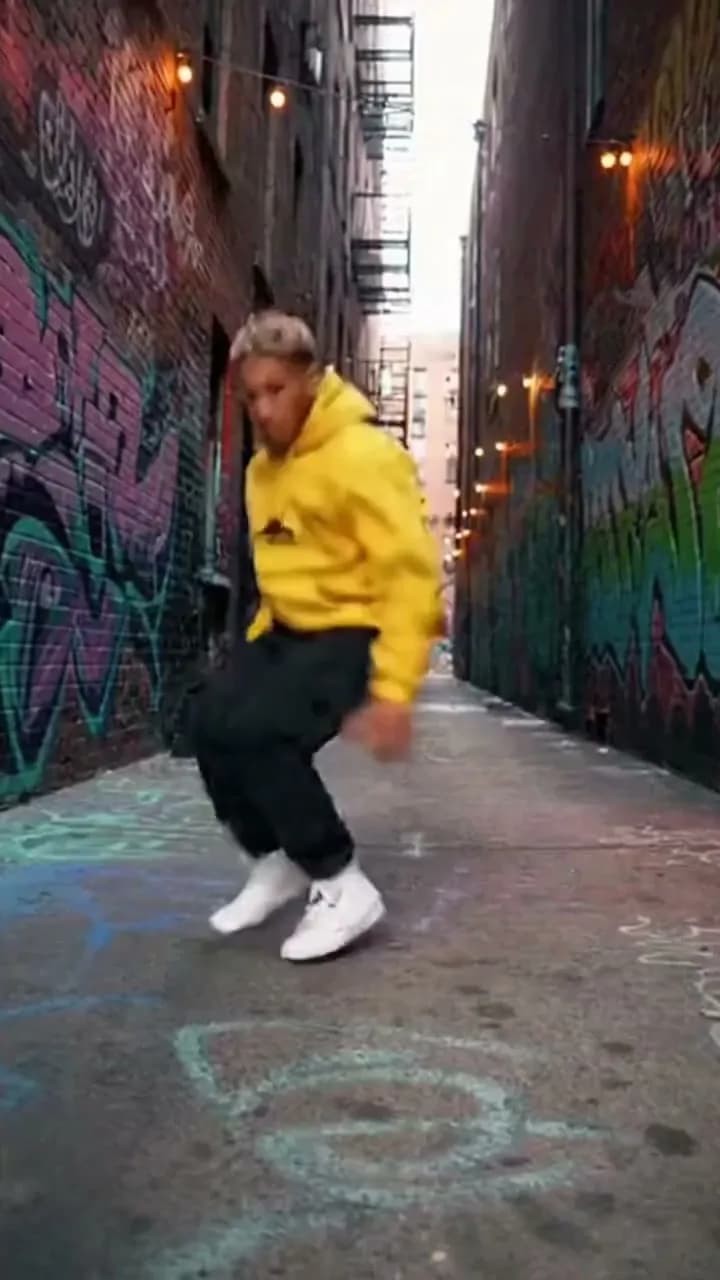
Urban Street Dance
Dark Warrior Awakening
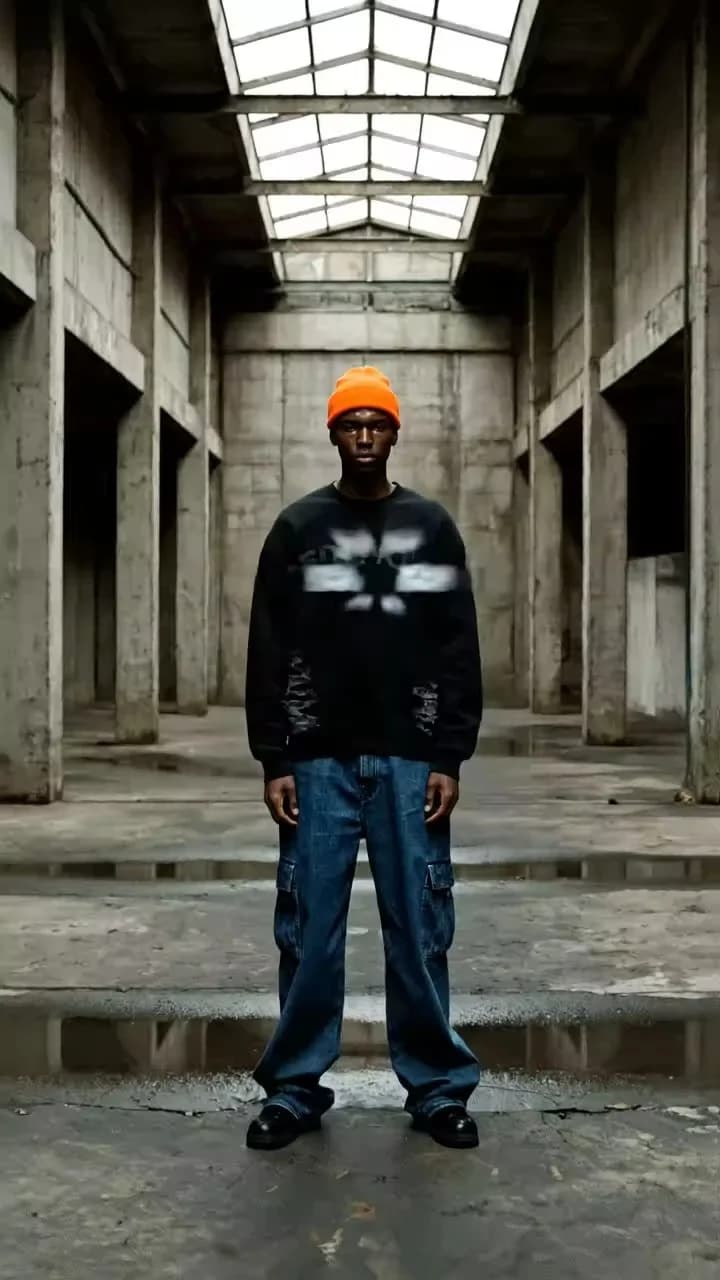
Urban Hologram
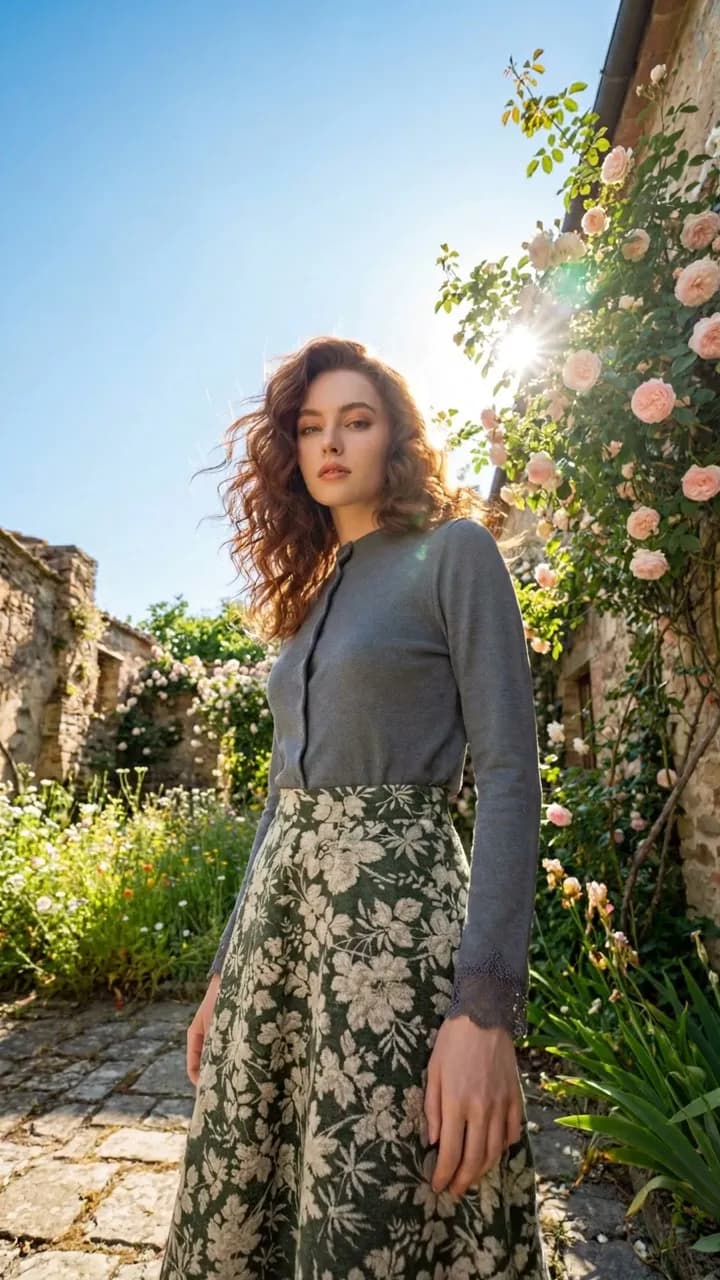
Earth Zoom Out
Abstract Background
From a single shot to a finished video

Direct a shot with text to video
Describe what is in the scene, how the subject moves, and what the camera does. Generate one shot at a time and compare results on the canvas.

Animate a reference with image to video
Add a product image, storyboard frame, or photo you have permission to use. Describe what should move and what should stay fixed. Review the clip for changes to the original subject and composition.

Turn a brief into a video with the Code Video agent
Give the agent your message, scene order, and any reference images. It writes and renders the animation for explainers, product walkthroughs, and moving typography. Choose the format and optional narration, captions, or music in the Mini App, then review and download the MP4.
What should you include in an AI video prompt?
Start with one shot. Describe the subject, what moves, and how the camera sees it. Add timing, audio, and reference images when they affect the result.
Start with one clear scene
Name the subject, setting, motion, camera angle, duration, and mood before adding complex style references.
Use model comparison for hard shots
Try the same prompt across video models when physics, character consistency, audio, or text rendering matters.
Add production constraints
Specify aspect ratio, platform, pacing, brand safety, and whether the result is for ads, explainers, product demos, or social clips.
Iterate from a reference frame
Create or upload a still image first when you need visual consistency before generating motion.
Related creative planning tools
How to generate an AI video clip
Describe a shot and pick a model
Enter your scene and choose a video model above. Continue in Flowith to carry both into the workspace.
Set up your clip in Flowith
Add a reference image if needed. Choose the supported duration, resolution, aspect ratio, and audio options, then check the credit estimate.
Generate, review, and save
Generate the clip in the workspace. Review the motion and framing, revise the prompt or try a different model, then download the result you want to keep.
Frequently Asked Questions
Start creating today
Start with a scene you want to see in motion.