
Flowith and Tripo: from a concept image to a mesh

On this page
The handoff between these tools is an image. Develop a concept in Flowith, choose one view, then open it in Tripo’s image-to-3D workflow. The screenshots show the original published walkthrough. They do not establish a generation time, topology quality, or a production-ready export.
Pick the view you want to hand off
Start with a clear outline and an unobstructed view of the object. Save the chosen image and the brief together so someone checking the mesh knows which features matter. In this walkthrough, Flowith is where the concept image is selected; Tripo is where the mesh is generated.
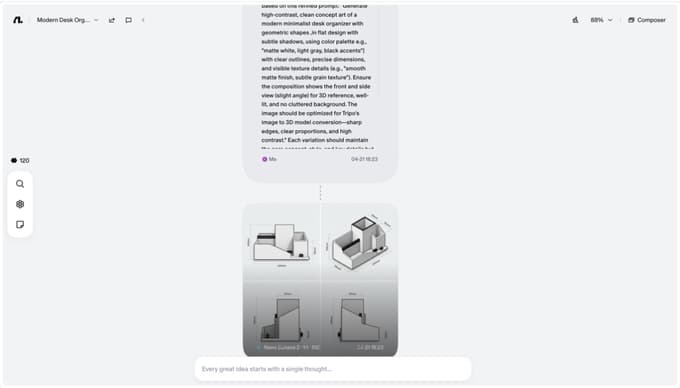
Inspect the mesh from more than one angle
Upload the selected image to Tripo Studio. Rotate the resulting mesh and compare the silhouette and proportions with the brief. Pay particular attention to the underside, back, and places where parts meet. A single source image does not show those surfaces.
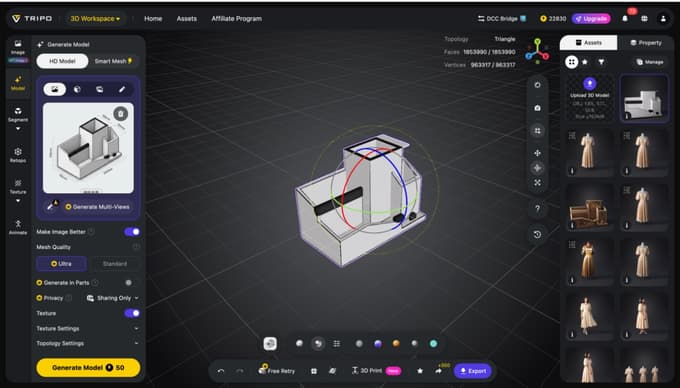
If a hidden side matters, add a reference view where the selected tool supports it, or correct the geometry before handoff. Export in a format your downstream app accepts and open the exported file there. Check scale, orientation, and textures in that app, not only in the generation preview.


